|
STEP #1
First we start off with this beautiful NSX without mesh in the front facia. |
|

|
|
STEP #2
Next we are going to take a mesh pattern. Here is one that I have provided. MESH
|
|

|
|
STEP #3
Just drag and drop it onto your image. Position it so it lines up with the contours of the position of the car.
|
|

|
|
STEP #4
Now use the eraser tool and erase all the parts that should not be in the front facia. After erasing everything it should look like this. It still does not look quite right. There still is not enough realism.
|
|
|
|
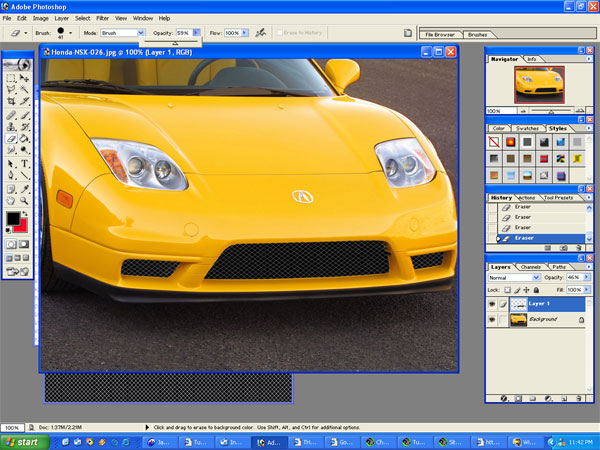
STEP #5
So what we will do to fix that is to use the eraser tool once again and this time we will turn the opacity down to about 18-20 percent and erase around the areas that there would be shadow. The end result should look like the picture to your left.
|
|

|
|
|


