|
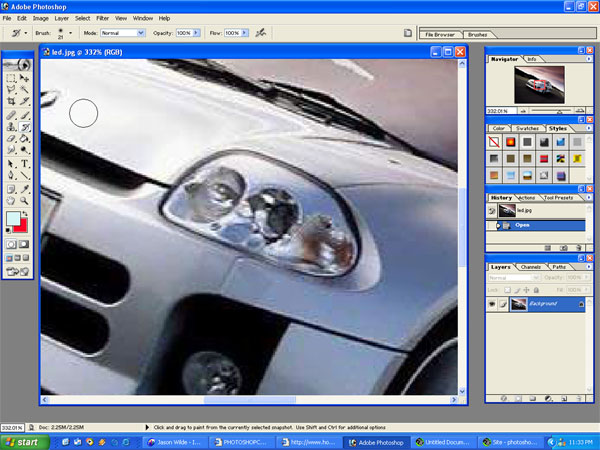
STEP #1
First we will zoom in on our project headlamp. |
|
|
|
STEP #2
Use the polygon lasso tool and select the headlamp..
|
|

|
|
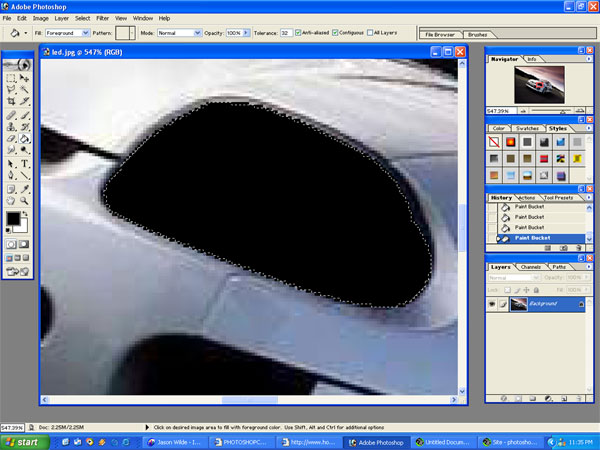
STEP #3
Now use the paintbucket tool and fill in the entire area with black.
|
|
|
|
STEP #4
Next use the airbrush tool. In this case I used airbrush soft round #7 and selected the colour I wanted to use. In this case it was a aquamarine colour.
|
|

|
|
STEP #5
Using the brush dab in each and every LED. Looks kinda cool right now but does not have any realism yet. That will change on the next step.
|
|

|
|
STEP #6
Using the polygon lasso tool select your new headlamp and copy the layer. Use the paste option to make the new layer.
|
|

|
STEP #7
With the newly copied layer right click on it and choose blending options. Within the blending options make sure to check the box next to Bevel and Emboss. Make sure the style is Inner Bevel and it is set to SMOOTH. Now just play around with the other values until you can get some kind of glare making it appear that the LED's are under some kind of cover. The pic to the left shows how it will look.
|
|

|
|
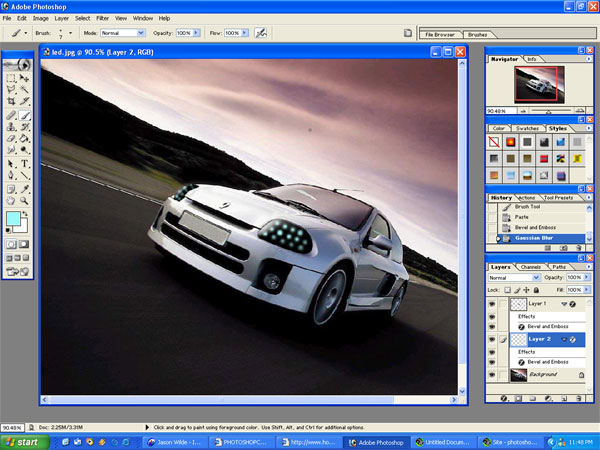
STEP #8
Next repeat the same steps to the other headlamp and you should get something that looks like this! Pretty easy little tutorial for some great results.
|
|
|
|
|
|


